Let me start by saying that what you read here is my opinion, based upon lots of trial and error over the years and theories that I currently hold to be true. YMMV
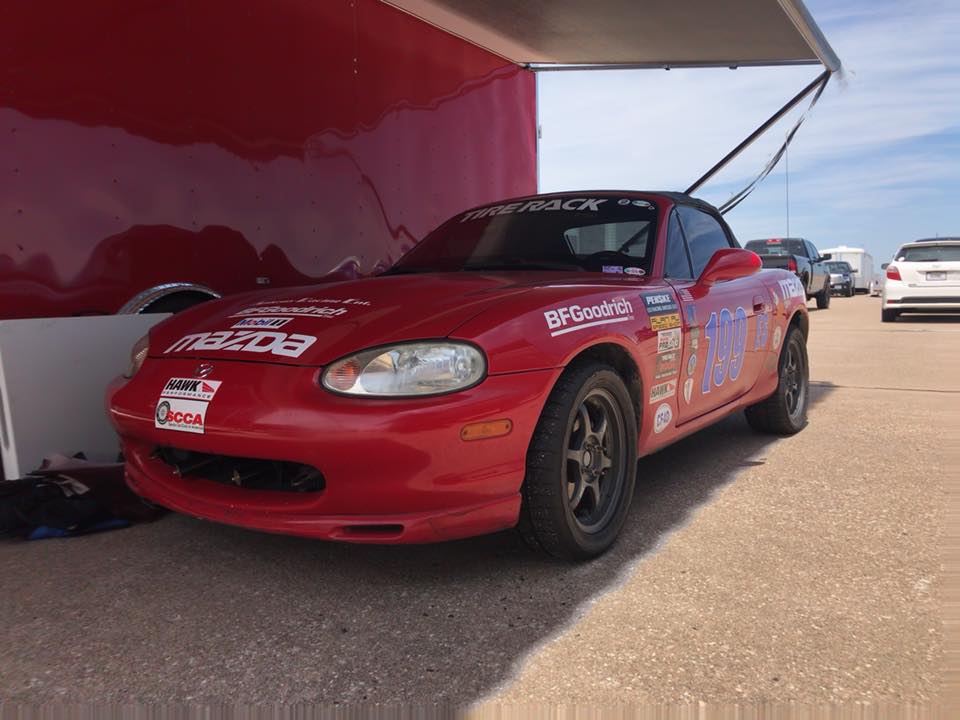
These setup instructions are specifically for the 1999-2000 NB1 Miata with the Hard-S suspension. My car is a 1999 Miata Base Sport Package car with no A/C or power steering. Setup shoud be similar on the NB2’s. Bump stops were the same length on my 2001. Other years should be verified for compliance. You can check part numbers in the Mazda Motorsports store. The NA6 and NA8 are very different cars. As these cars are no longer nationally competitive, I’m not working with anyone developing a car for the class.
While I’ve had a good bit of success with my setup, it doesn’t follow the path that many others have claimed is the best. There’s more than one way to end up with a fast setup– this is mine and it works very well for the current crop of tires.
If you haven’t already, you really should listen to Cone Coach #19 where I discuss bump stops, suspension tuning, and my theories for car setup.
When these recommendations were originally posted back in 2019 I had done most of my development work at Grissom AFB (home of the Great Lakes Pro Solo and the Peru National Tour). I’ve since been able to incorporate learnings from Lincoln and other locations.
The stock NB bump stops are 58mm in the rear and 60.5mm in the front. For E-Street, you need to follow 13.5.D of the rulebook:
A suspension bump stop is considered to be performing the function of a spring. Therefore, the compressed length of the shock at the initial point of contact with the bump stop may not be increased from the standard part, although the bump stop may be shortened. Bump stops installed externally and concentric with the shaft of a shock may be drilled out to fit a larger diameter shock shaft. Bump stops may be substituted provided they meet the length requirements and are in the same location as stock.
Fortunately, if you’re running Konis or Bilsteins (FYI – I officially carry Bilstein products now), you just need to make sure the bump stops aren’t longer than the stock ones. If you run a fancy shock like a Penske (like I do) then you’ll need to do your own calculations to ensure you’re compliant (or use the measurements from your shock builder). If you’d like to go down that road, I’m now a Penske dealer and will happily build you a set of Penskes that are rules compliant.
If you’d like a set of #TeamOverkill Stage-1 custom valved Bilsteins, email me or hit me up on Facebook and I’ll build you a set.
What I personally recommend for setup on the Konis or Bilsteins is as follows:
SFR Bar (State of the art) or Flyin’ Miata Bar (the budget minded option)
Soft setup:
2-3/8” long (60.33mm) Penske BR-32 – Yellow/Tan (aka white) bump stops
These can be used in both the front and rear. For the rear, trim off one “nub.” and use packers to keep them as long as stock. Also, depending on what shocks you have, you may need to grind or drill the opening to accommodate the larger shaft size of your shocks.
Stiff setup:
2-3/8” long (60.33mm) Penske BR-47 – Blue bump stops
These can be used in both the front and rear. For the rear, trim off one “nub.” and use packers to keep them as long as stock. Also, depending on what shocks you have, you may need to grind or drill the opening to accommodate the larger shaft size of your shocks.
If you already have a Racing Beat 1-1/8″ bar and don’t want to swap it out, here’s an alternative:
You can use Penske black bump stops for both the front and rear, but you’ll need to trim the rears by 2.33mm or more. I think it’s easiest to trim them at the first dimple, but no matter where you trim them, you’ll want to make sure you get them even and measure them when you’re finished to ensure compliance with the rules. If you trim them at the dimple, then you’ll also need packers. When I trimmed mine I ordered an assortment of sizes so I would have exactly what I needed.
While this isn’t my preferred bar (I have a strong preference for a smaller bar), autocrosser Shane Johnson and others has used this setup with great success, winning PAX at his local autocross on the first outing in the car. We discussed his options at great length and part of the motivation for writing this blog post is to have a place to point people to that although I love talking about setup, I don’t always have time to discuss every detail.
If you’re running a Racing Beat 1-1/4″ bar, I’d just sell that and get something smaller. Seriously– If you haven’t listened to the Cone Coach podcast referenced above… stop what you’re doing and listen to what I went through trying to run it on my 2001.
You’re certainly welcome to purchase your bump stops and shocks from anyone you’d like. I’d appreciate if you’d consider me for your suspension needs. I have a lot of experience with setting up both Miatas and MR2’s in this class. When you purchase from me you get access to additional information and assistance. I hope to see you on the podium with #TeamOverkill stickers soon!
So, should you go for a stiffer setup, or a softer setup?
Well, the short answer– it depends!
My experience setting up the car at Grissom led me to making the car as stiff as possible. The courses there are runway style courses (lots of slaloms and transitions, but only one turn-around at the end that barely counts as a sweeper).
The more grip you’re running on, the stiffer the car you’ll want (concrete vs asphalt). The more transitions and less sweepers you’ll see, the stiffer the car you’ll want. Conversely, the less grip and more sweepers, the softer you’ll want the car to be. I’ve been running Penske Blues for many years, but that was based upon testing at Grissom… so read into that what you’d like.
If you’re not sure which bump stops to order, give me a call, and I’ll set you up with what you need.
Alignment:
I use a very simple alignment.
Max camber in the front. Max camber in the rear with one caveat.Make the split front to rear the same from side to side. i.e. LF -1.1 RF – 1.3LR -2.0 RR – 2.2
I run zero toe all around but have suggested 1/16” toe in certain cercumstances.
Conclusion:
I’ll update this post periodically with information that is useful for a good E-Street setup and change the last updated date at the bottom. Please keep the questions coming.
Resources:
Penske
– Blue – 225 lb/in
– Black – 155 lb/in
– White – 100 lb/in
updated 06/27/19 with additional alignment details
updated 06/27/19 with notes about which Miatas this applies to
updated extensively 06/10/23 to include updated information and reference to #TeamOverkill branded shocks and to let people know they can purchase their bump stops directly from me.
Comments are closed